Deploying Jekyll Site on Ubuntu VPS
Over the past few months Heroku has become an increasingly expensive option for projects that are starting to scale in any way (Addon price hikes, Dyno Sleeping and Charging, etc.). For ease of use and speed to spin-up up a prototype and have it running Heroku is still the leader and will continue to be my goto in times of need. But as soon as Dyno Charging becomes an issue I think it's time to capify that app and use one of the many VPS hosting options out there.
For this project I wanted to migrate my simple static site to a $5 droplet on DigitalOcean. I'm sure you could get a better price on AWS but am fine paying the little bit extra for ease of use on DO.. After going through the initial server setup (groups, perms) it's time to go though the actual server preperation.
Server Preperation
sudo apt-get update
sudo apt-get install nginx
Ensure that nginx is properly installed by visiting the public ip from the following command
ip addr show eth0 | grep inet | awk '{ print $2; }' | sed 's/\/.*$//'
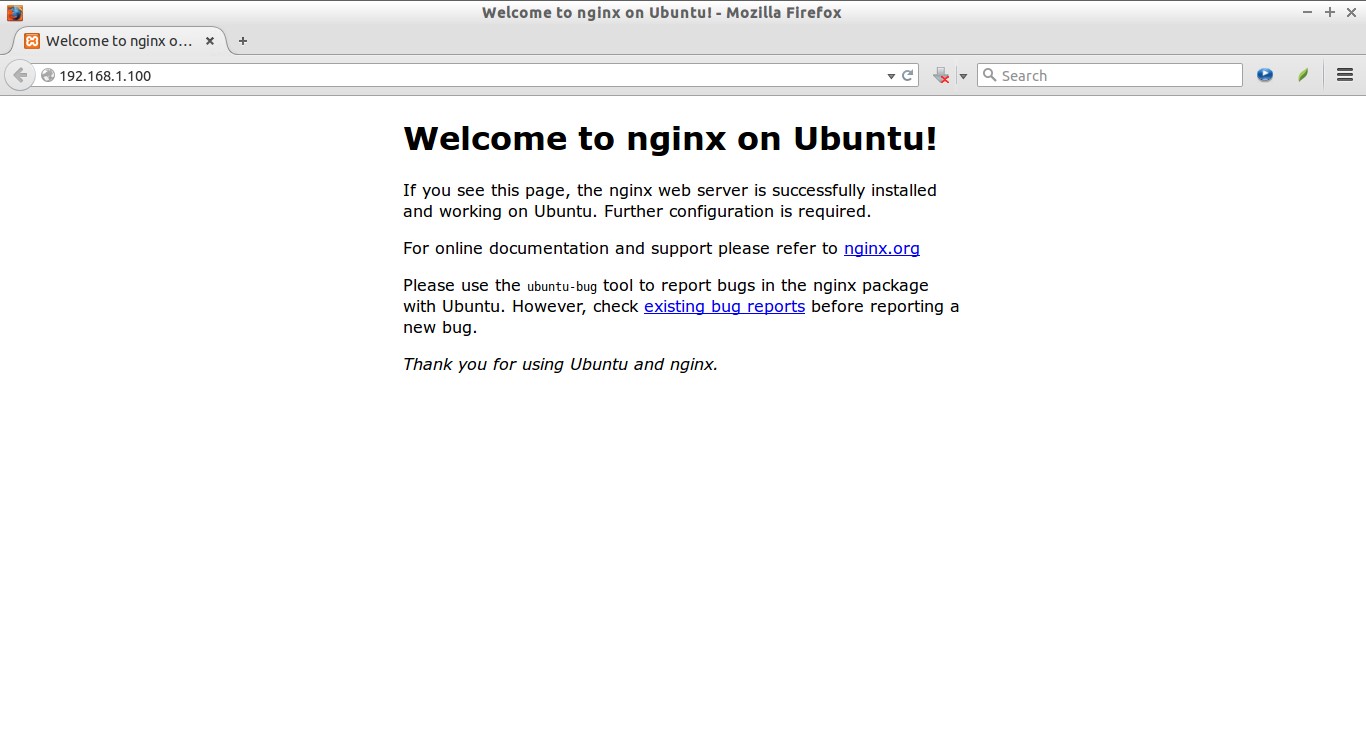
If everything went correctly you should see the following nginx welcome screen (nginx will automatically start when installing on Ubuntu so there is no need to start the service before running the test):

For basic nginx service management use the following commands:
sudo service nginx restart
sudo service nginx stop
sudo service nginx start
Now that we have nginx ready to go on our server let's install the final pieces to bring our Jekyll site to life.
sudo apt-get install git-core
curl -L https://get.rvm.io | bash -s stable --ruby=2.1.2
After installing rvm there will be some information about the install process and some next steps that may be required to start developing. If you do not have access to rvm on the command line after install you may have to run the following or add to your ~/bash_profile:
source /usr/local/rvm/scripts/rvm
Once Ruby is running correctly go ahead and install jekyll and all it's glorious dependencies.
gem install jekyll
Server Setup Compete
Now it's time to set up your jekyll site for deploy. For this example we are going to use Capistrano 2.x
gem install capistrano
capify .
This will create a few config files but the one we want to concern ourselves with is config/deploy.rb
set :application, "blog"
set :repository, 'public'
set :scm, :none
set :deploy_via, :copy
set :copy_compression, :gzip
set :use_sudo, false

set :user, "deployer"

# the path to deploy to on your VPS
set :deploy_to, "/home/#{user}/blog"

# the ip address of your VPS
role :web, "XX.XX.XX.XXX"

before 'deploy:update', 'deploy:update_jekyll'

namespace :deploy do
  [:start, :stop, :restart, :finalize_update].each do |t|
    desc "#{t} task is a no-op with jekyll"
    task t, :roles => :app do ; end
  end

  desc 'Run jekyll to update site before uploading'
  task :update_jekyll do
    # clear existing _site
    # build site using jekyll
    # remove Capistrano stuff from build
     %x(rm -rf public/* && rake generate)
  end
end
Modify a few lines to suit your needs and you should be ready to cap deploy. To verify your new Capistrano deploy run the following; if both commands succeed without Warnings or Errors you will ready to deploy.
cap deploy:setup
cap deploy:check